Summary:
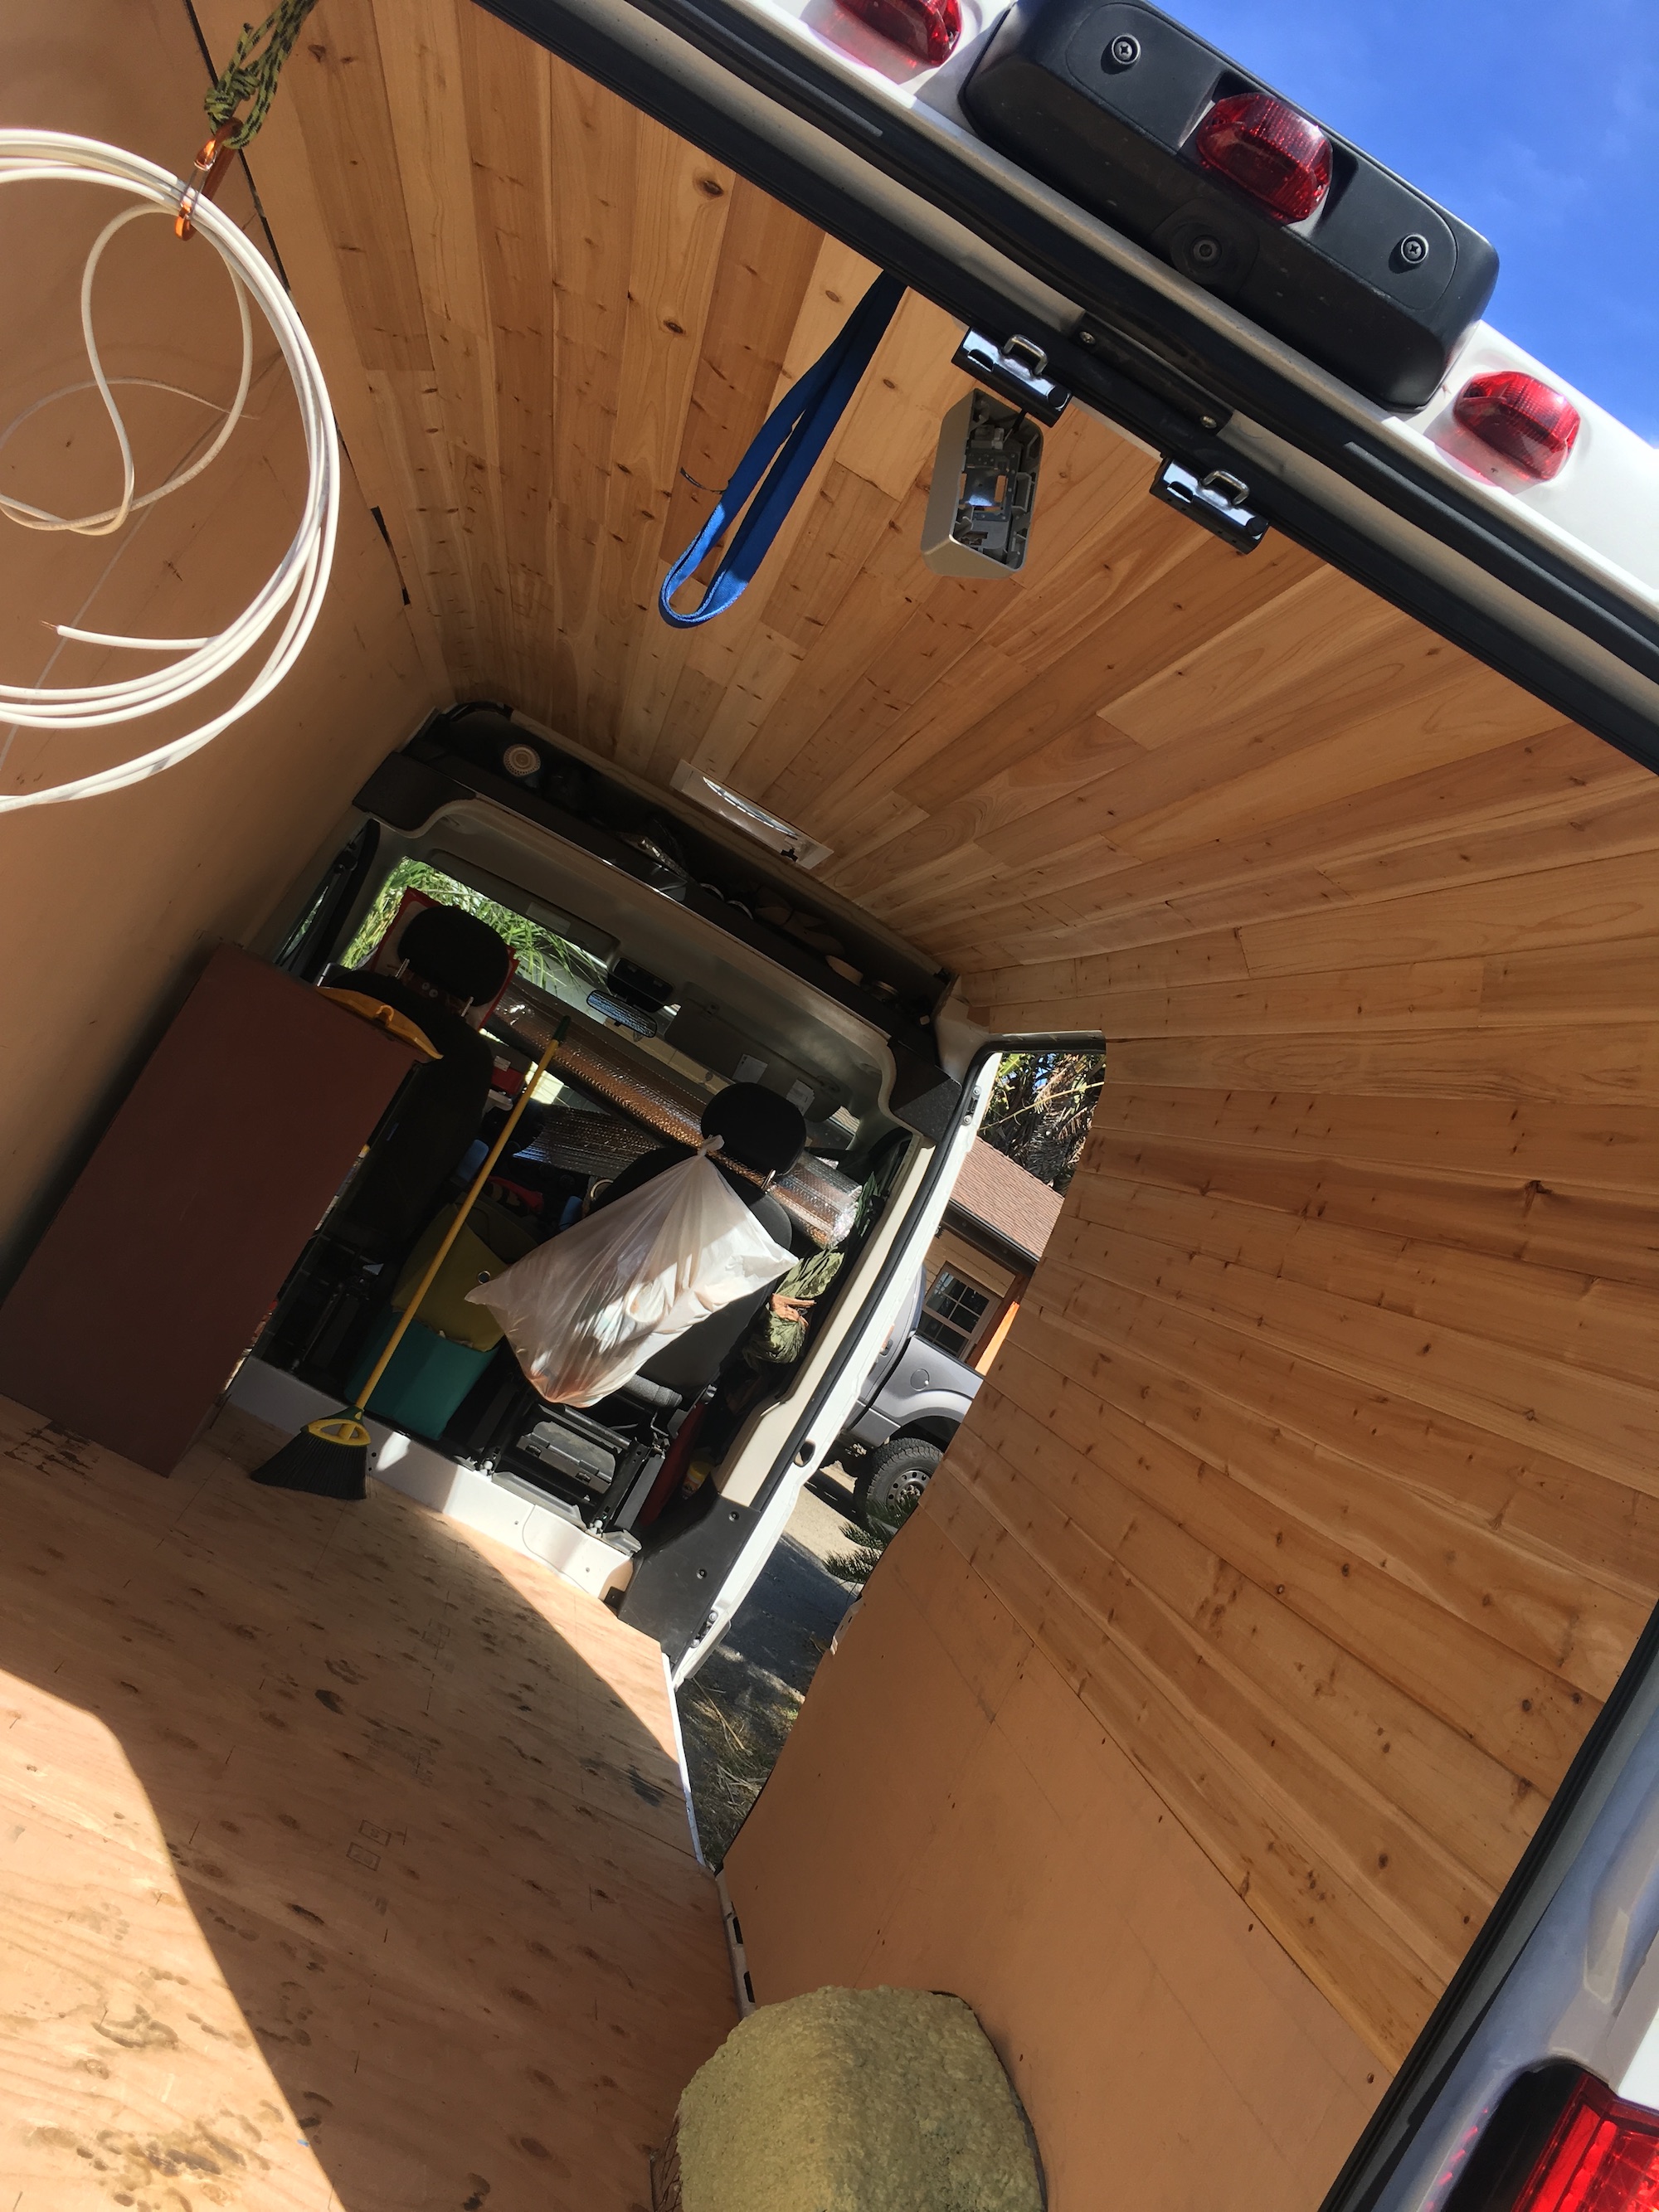
It is a large undertaking and process to make your van look less like a van and more like a home or studio. I felt like the best way to accomplish this goal was to go for a cozy cottage feeling and surround myself with as much wood as possible. Using cedar is great for several reasons; it is soft, light weight, and handles moisture very well. A few added benefits are that it smells great, insects naturally hate it, and it gives a light warm appearance to the van.
Materials:
- 1/4 inch Birch Plywood
- Tongue and Groove Cedar Planks
- Circular Saw
- Jigsaw
- Wood Jigsaw Blades
- ¼ – 1 inch drill bits
- Driver-Drill
- Deck Screws 1 5/8′
- Air Compressor
- Framing Nailer
A few pro tips before we move on:
Get all the cedar you need, and a little more, in one stop to the store. Different lots can mill the tongues a little differently and you may have trouble getting boards from package A to fit with boards from package B.
Next tip is to open all the packages you’ll need for sure and let them dry, or adjust to a standard temperature, for 24 hours. Reason being that if you hang them right away and the boards have some moisture in them, your seams can open up and cause gaps in the hard work you’ve done. Conversely, if they are very dry and absorb any humidity they can buckle.
Last, always use a nice miter saw to cut the ends off the new lumber! Your seams will fit together much nicer using a fresh straight cut, rather than trusting that the manufacturer cut them all square.
Build Information:
I knew I wanted one wall to be 2 toned, so I hung a piece of 1/4″ plywood to the height of my bed so I could add a little color to each wall. I was very careful to make sure the top edge of the plywood was extremely level so that every board after that would follow the same line.
Next step is as easy as cutting the cedar to length and using 2-3 nails at each stud to hang it on the walls. Repeat until you get to the curve where the ceiling meets the wall, remembering to stagger any seams where you butt joint 2 pieces of cedar end to end. If you don’t do this, you’ll end up with a seam that goes straight up the wall.
Lastly, I had to figure out a way to get the cedar to roll from the passenger wall to the ceiling, which was a much tighter turn than I had imagined. I ended up attaching more of the 1/4″ plywood to the struts in the corner. I had used a ~6” wide strip along the entire length of wall and attached it with more sheet metal screws, but in hindsight, I think it would have been much easier to just attach a few 2” wide and 6” long strips to each of the metal struts.
There were a few spots close to the door that the cedar had to flex a little. I ended up using a few 1-2″ scrap pieces of cedar as shims and I was able to nail them into place and secure the cedar with the finish nailer.

Because of the curve, the tongue and groove feature of the cedar planks will not work extremely well. For me, it was easiest to use a utility knife to cut the back edge of the groove off and just lap the front edge over the tongue of the next board. We did have to get a little creative around the fan by using another piece of 1/4” strip to attach the floating ends to.
Finished Product:
And you’re done! Your van is well on its way to becoming a home!