

Summary:
This article will give you an idea of how we made my bed/bench area. This idea was inspired primarily by Pete and Taylor from AlwaysTheRoad and we made a version that fit a Ram ProMaster. We’ve detailed out the build steps as much as possible below with instructions and photos. Feel free to email us with any questions or comments!
Materials:
- Birch Plywood
- Circular Saw
- Jigsaw
- Wood Jigsaw Blades
- Driver-Drill
- ¼ – 1 inch drill bits
- Deck Screws 1 5/8′
- Deck Screws 3 1/2′
- Air Compressor
- Framing Nailer
- Nailer Brads
- Liquid Nails
- Tape Measure
- Straight Edge
- Square
- Angle Grinder
- Hinges
Prep/Planning:
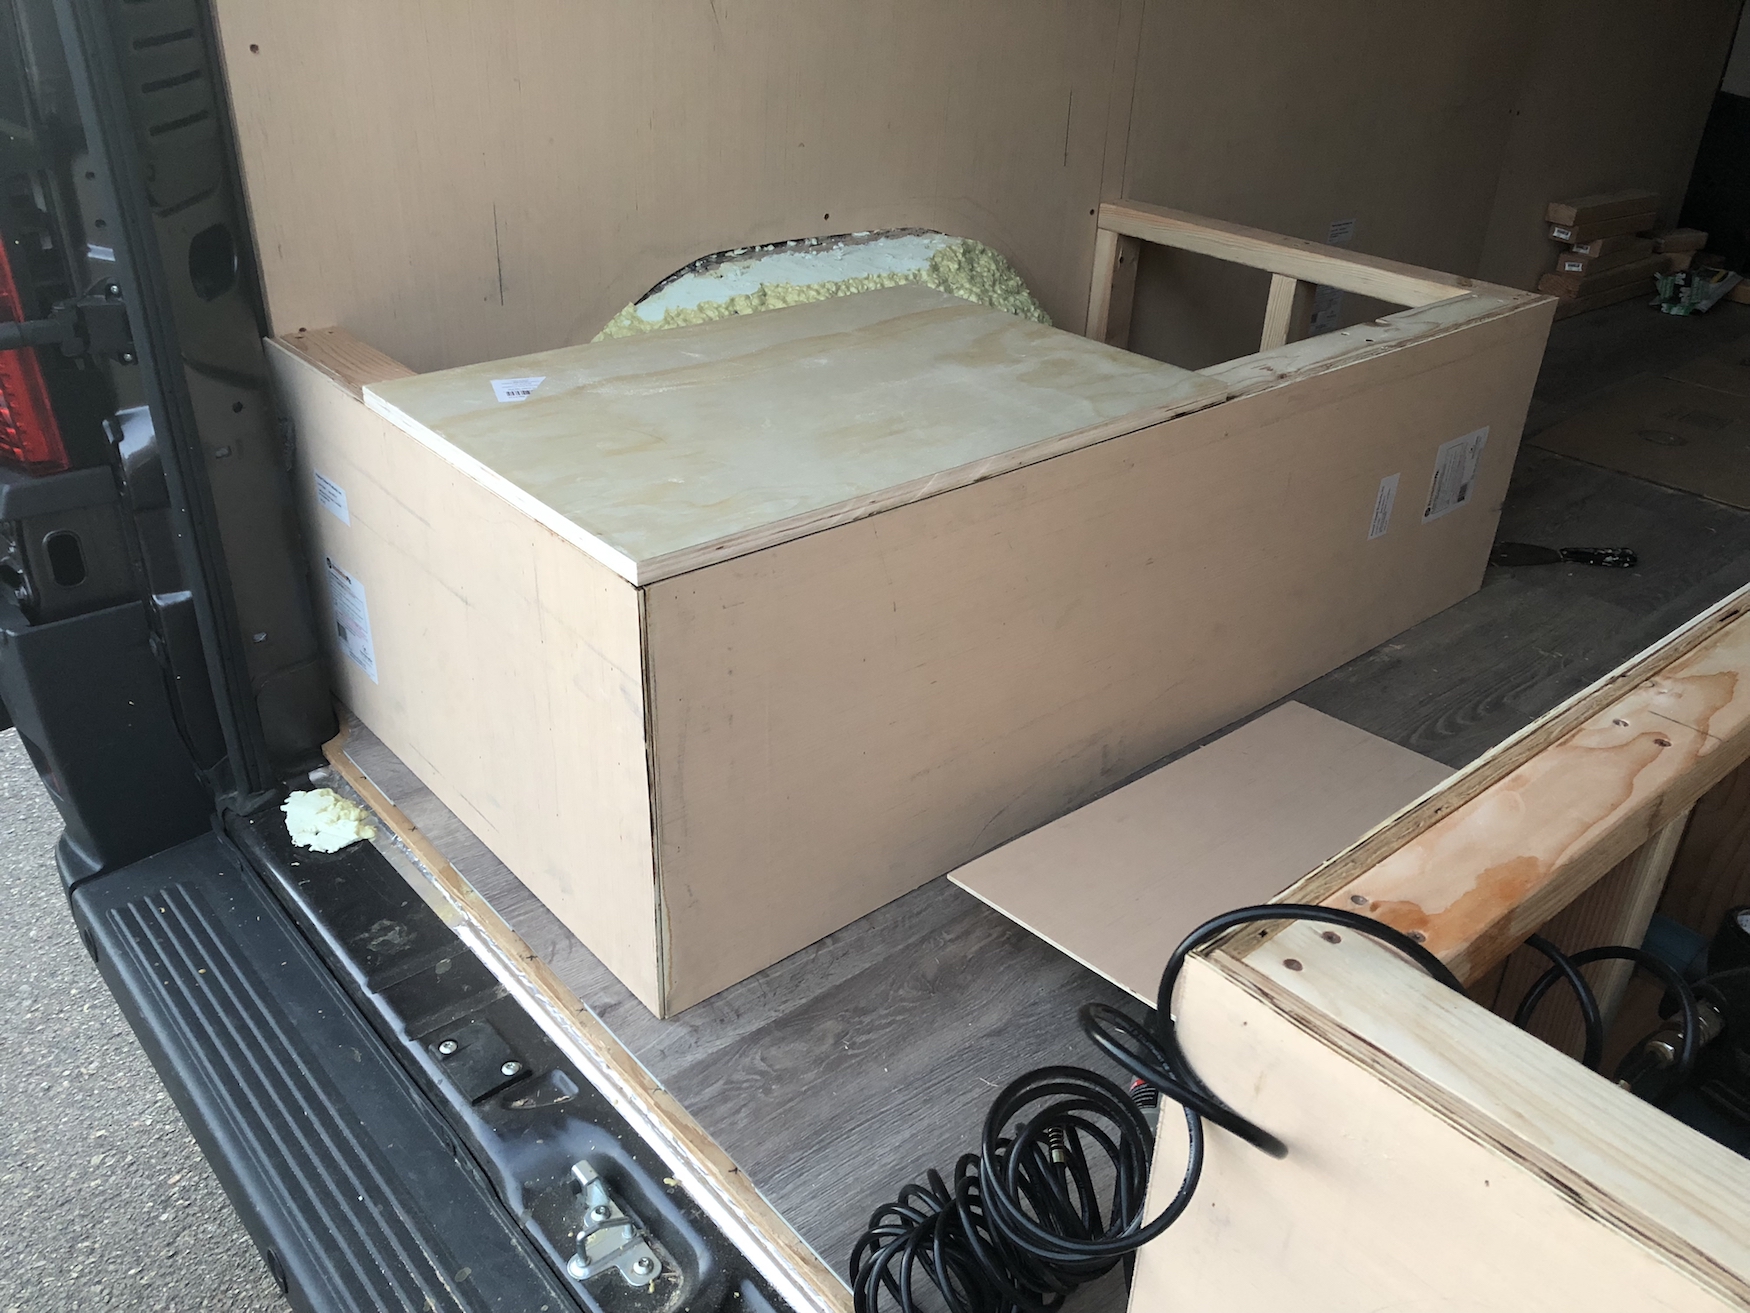
I decided to build a convertible bed/bench seat area so that I could have a place to sleep, entertain, and work. My goal was to have all of my electrical necessities (inverter, batteries, solar charge controller, fuse box, isolator, and breaker box) stored in a portion of this setup. In another article, we will detail out where everything fits and how it is installed.
The bed frame itself is 52″ x 75″, just 2 inches shorter from a standard full size bed frame which is 54″ x 75″. I knew I wasn’t going to be using a normal mattress, so I was able to save 2 extra inches for use later on in my closet/kitchen. Also, I’m not quite 6′ so the width of the 159″ WB ProMaster allows me to sleep that way.
Let’s get to building!
Build Steps:
1. Create the framing for the benches using 2×4’s.

2. Repeat the same steps for the opposing side of the van.

3. Check to make sure they are evenly spaced.
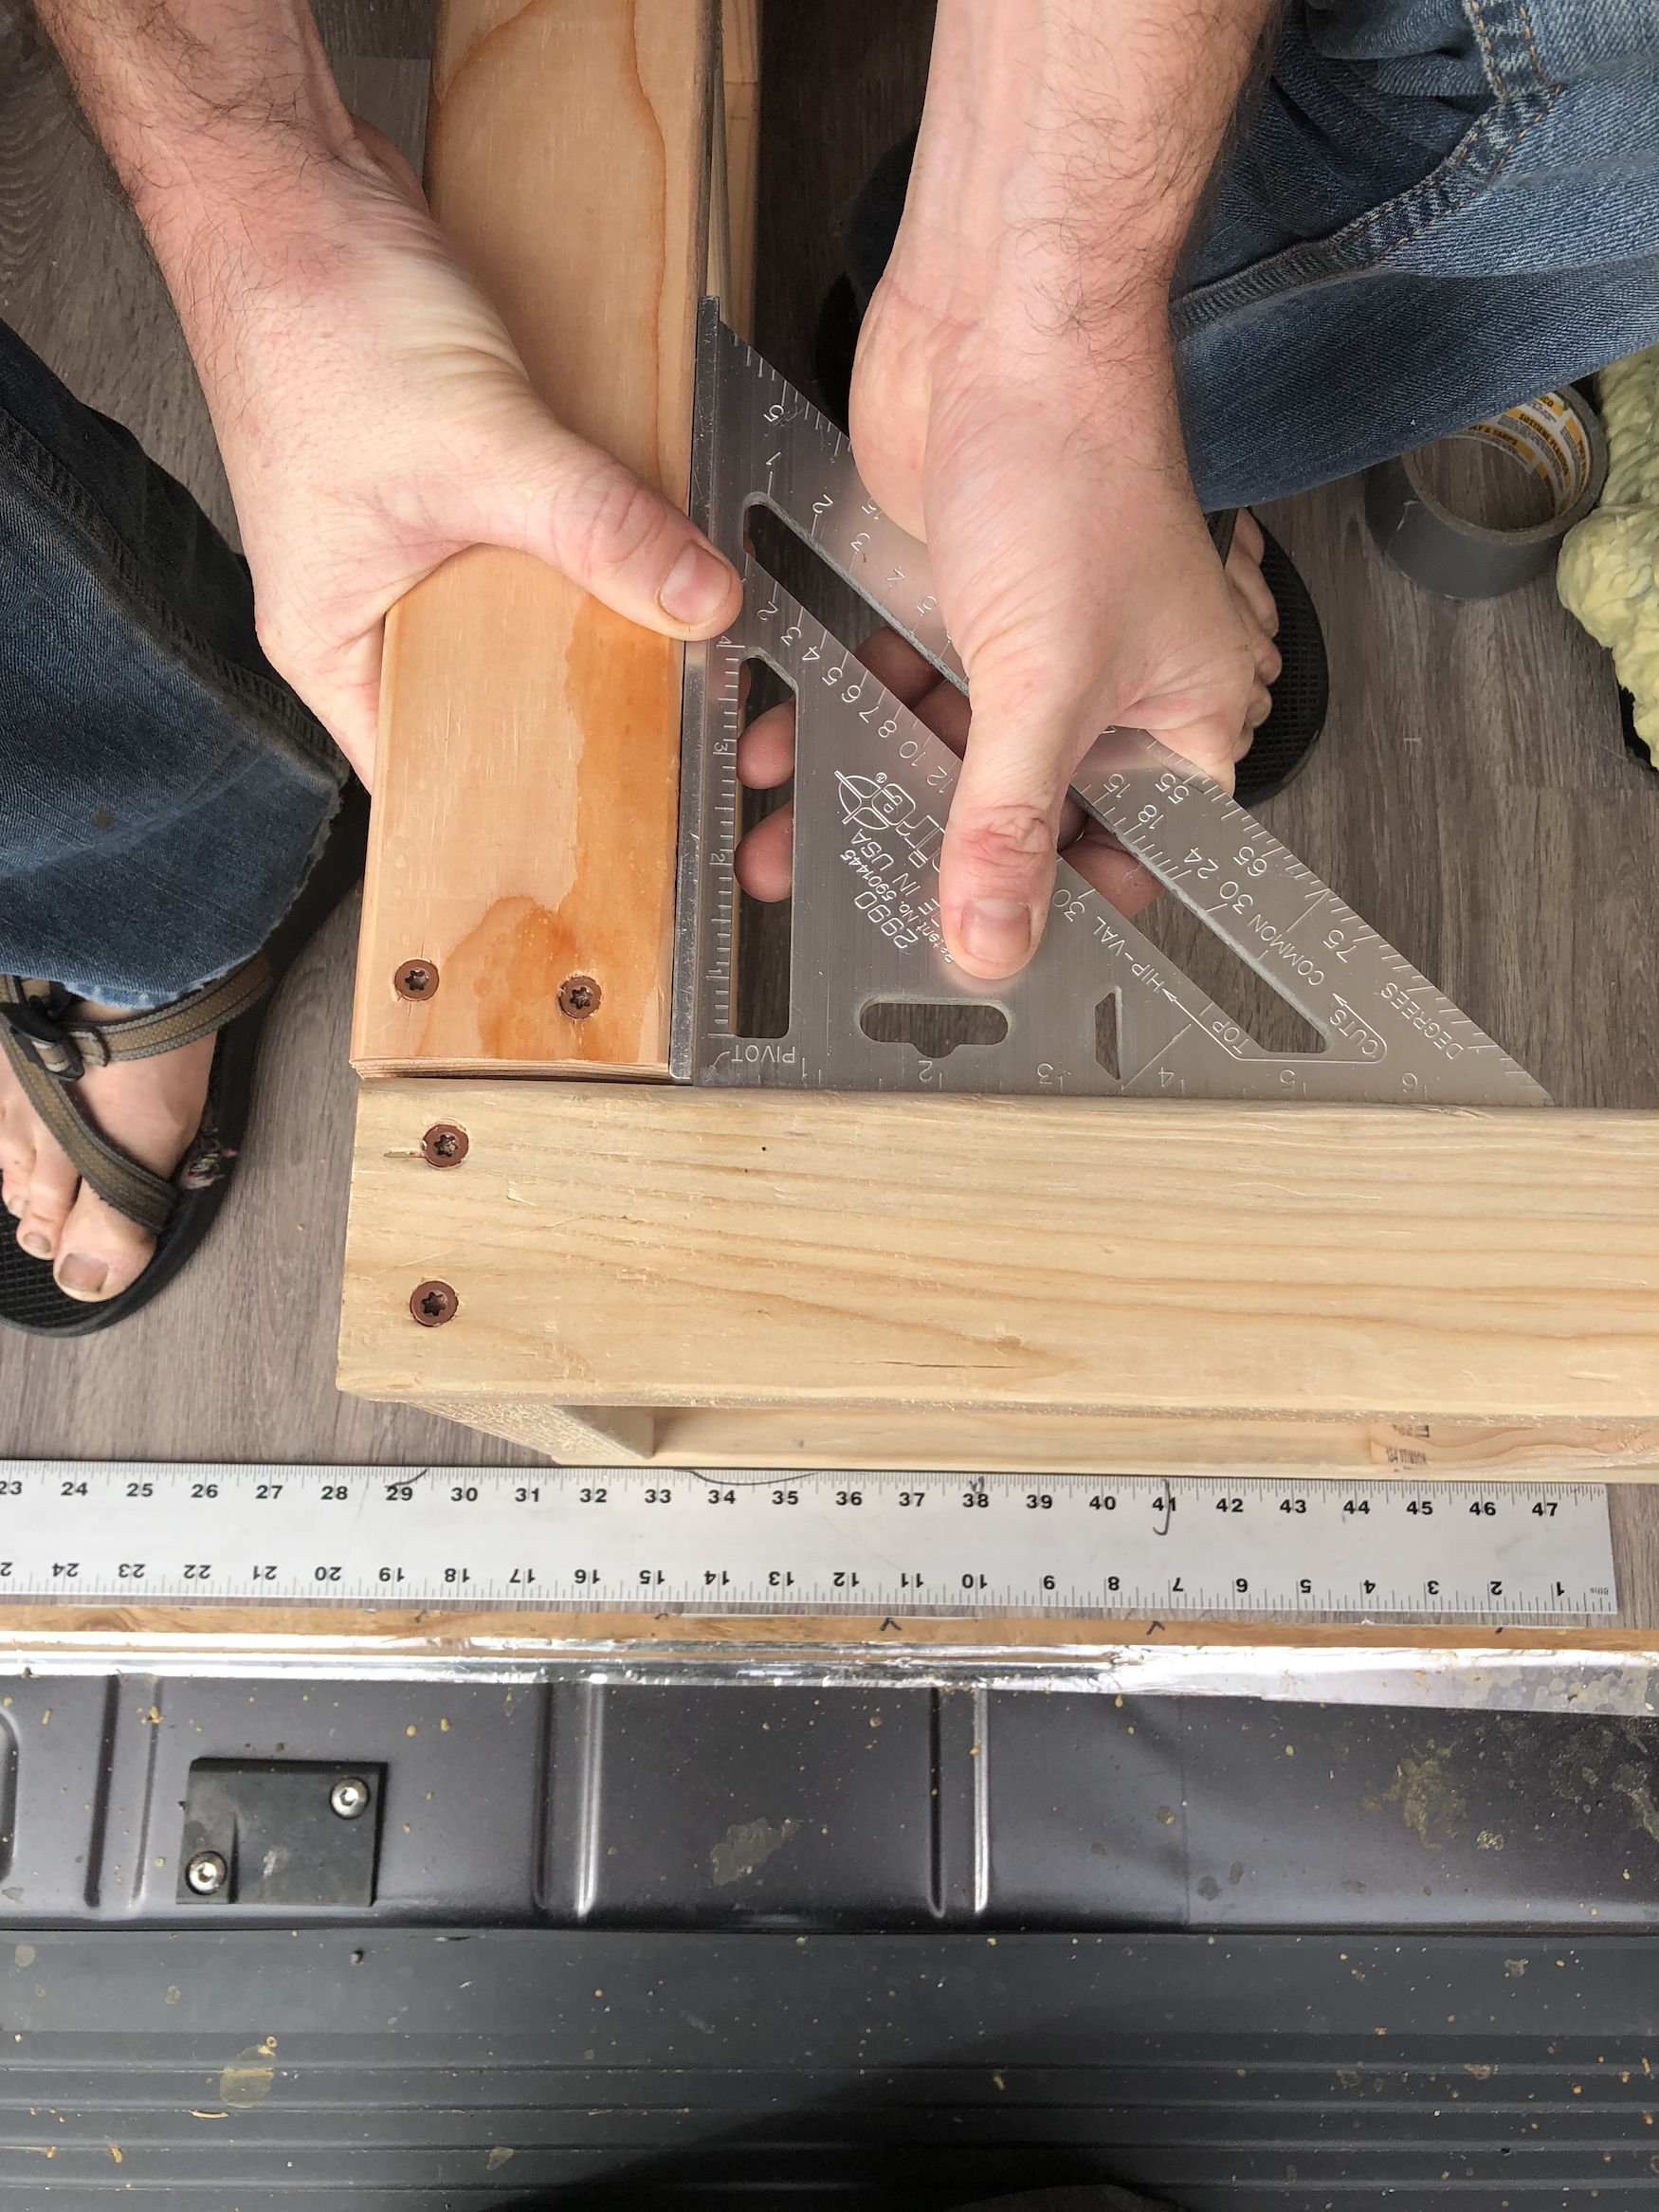
4. Check to make sure we are square with each frame before securing.
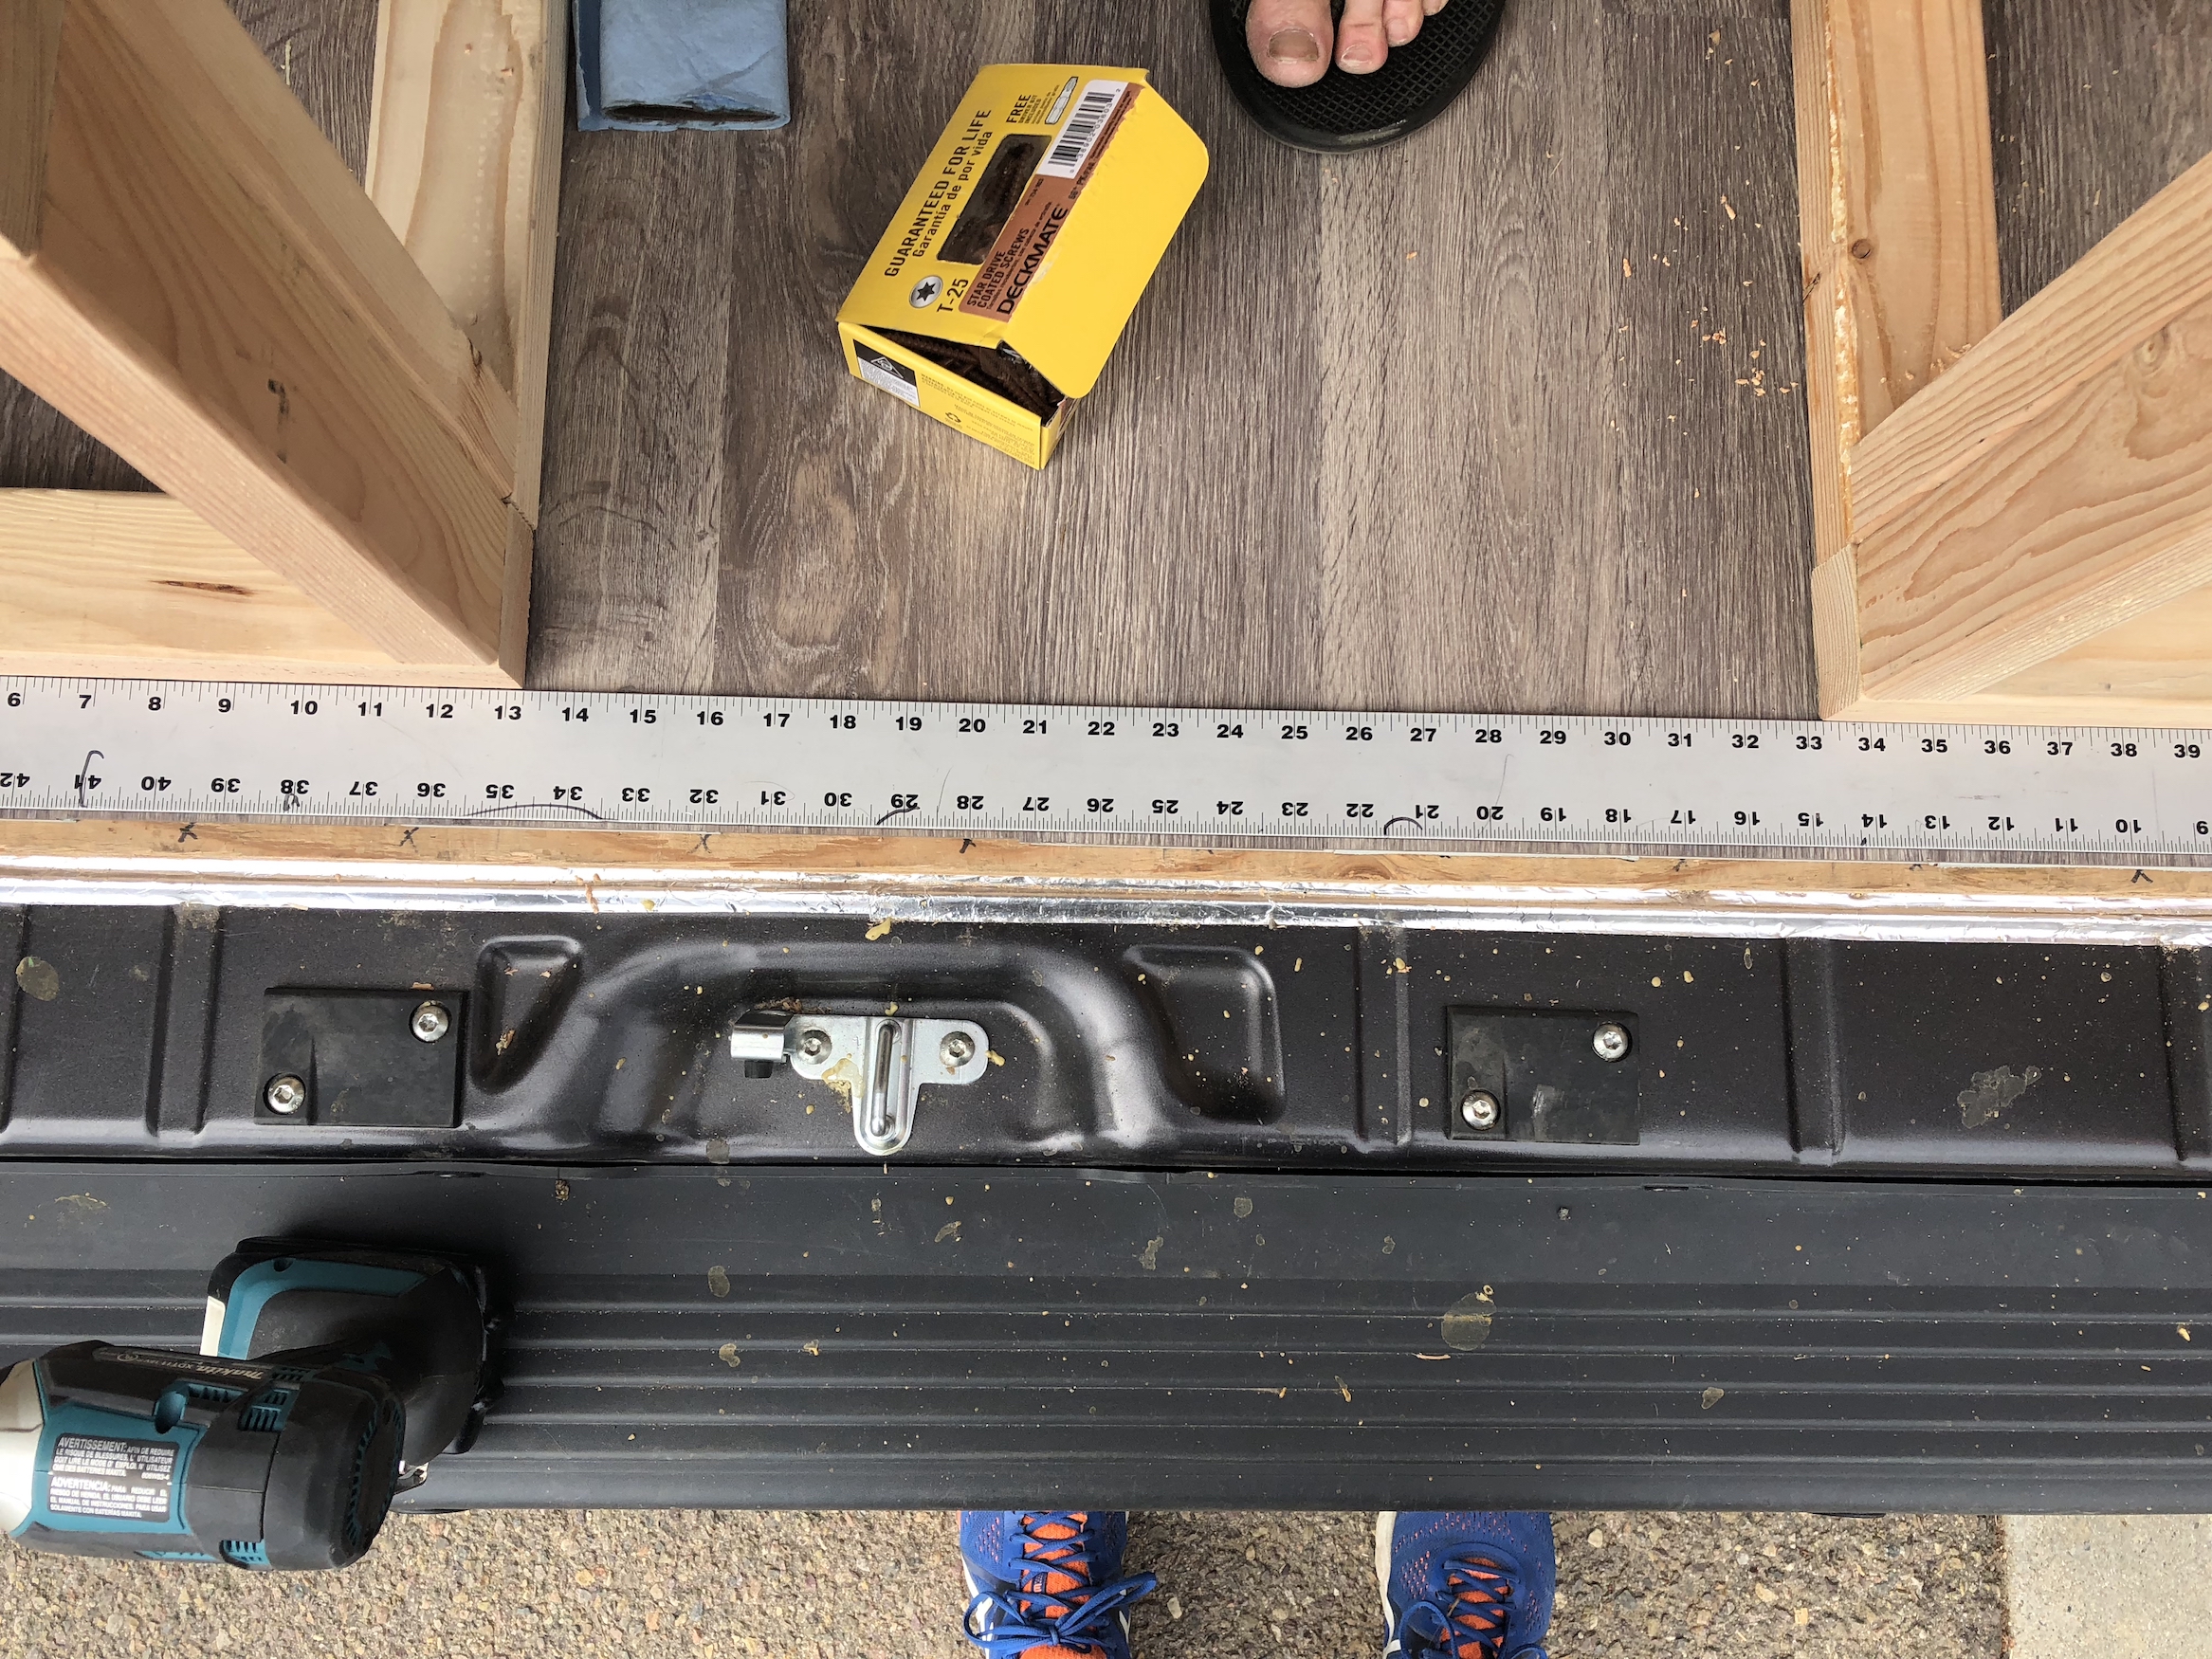
5. Screw the framing into the floor. We used 3 1/2″ screws as we knew we’d be going through a 2×4, the vinyl flooring, and the subfloor before we’d hit the bottom of the van.

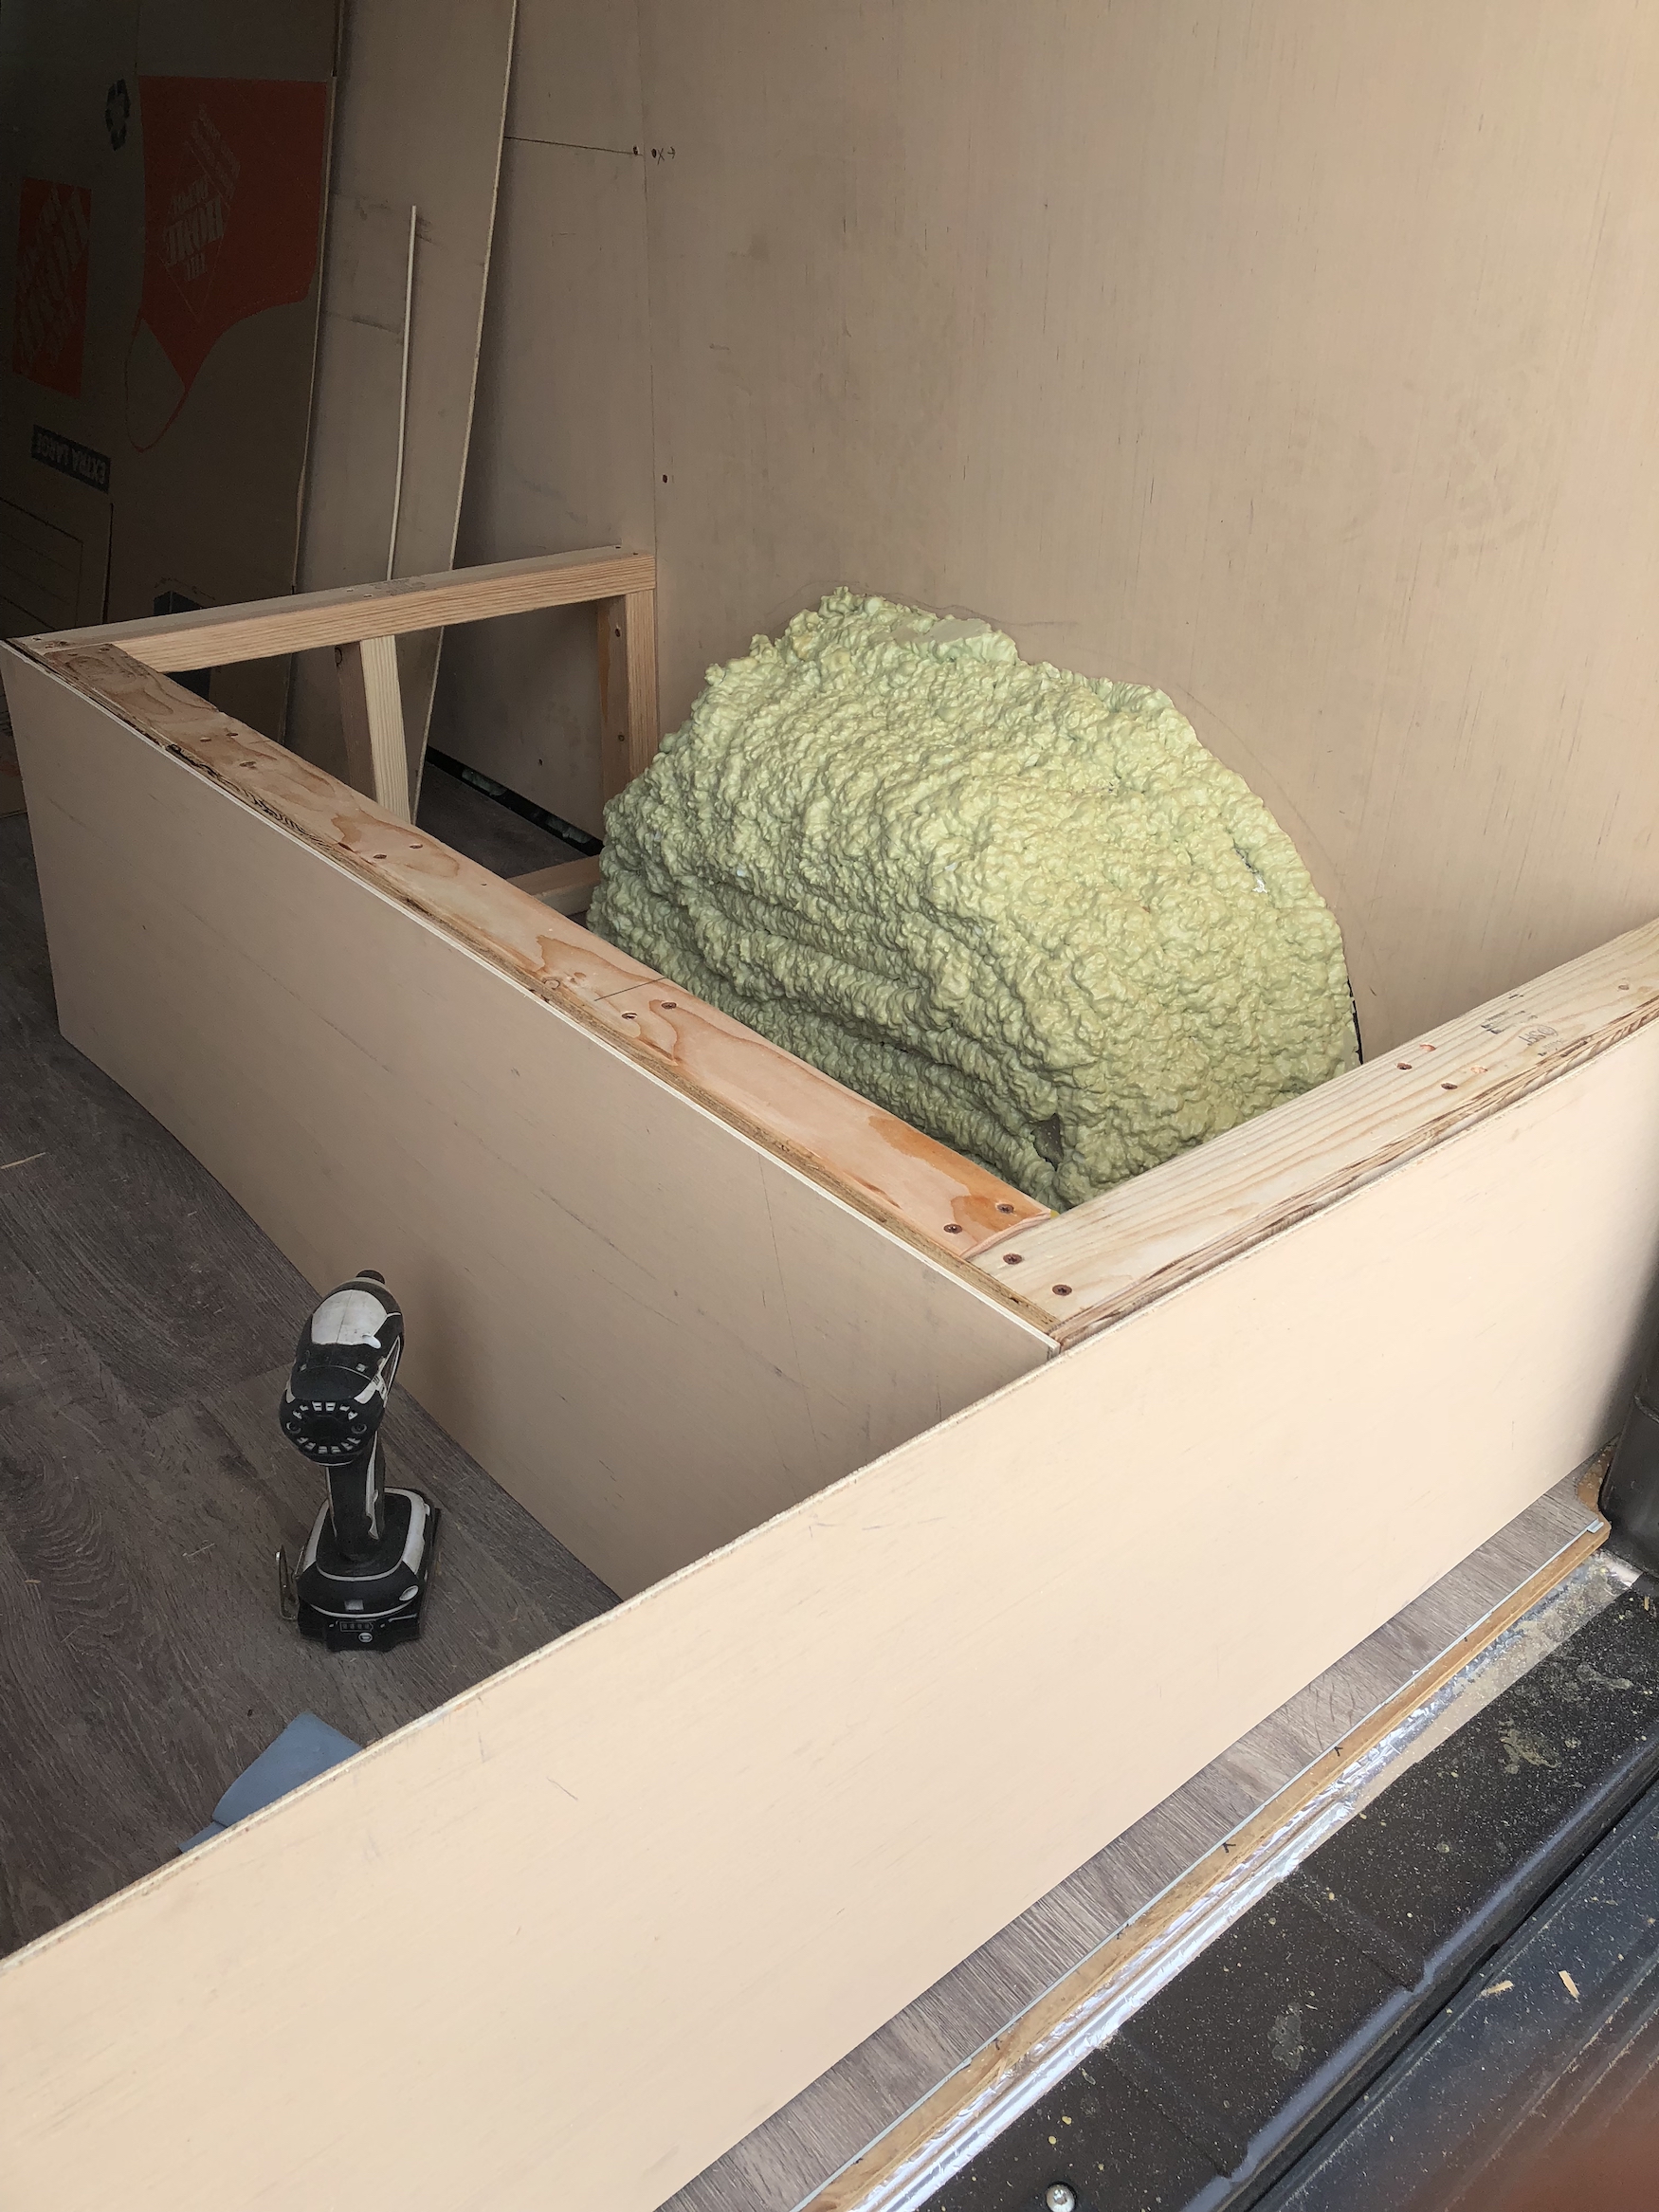
6. Cut out and create the center frames using 2×4’s. Install the center piece frames to section off the bench seat area. You’ll want to measure how far from the main frame to the wheel-well. I had to cut some foam out of the way to make sure they were nice and snug against them.

7. Measure, cut, and place the plywood on the frames.
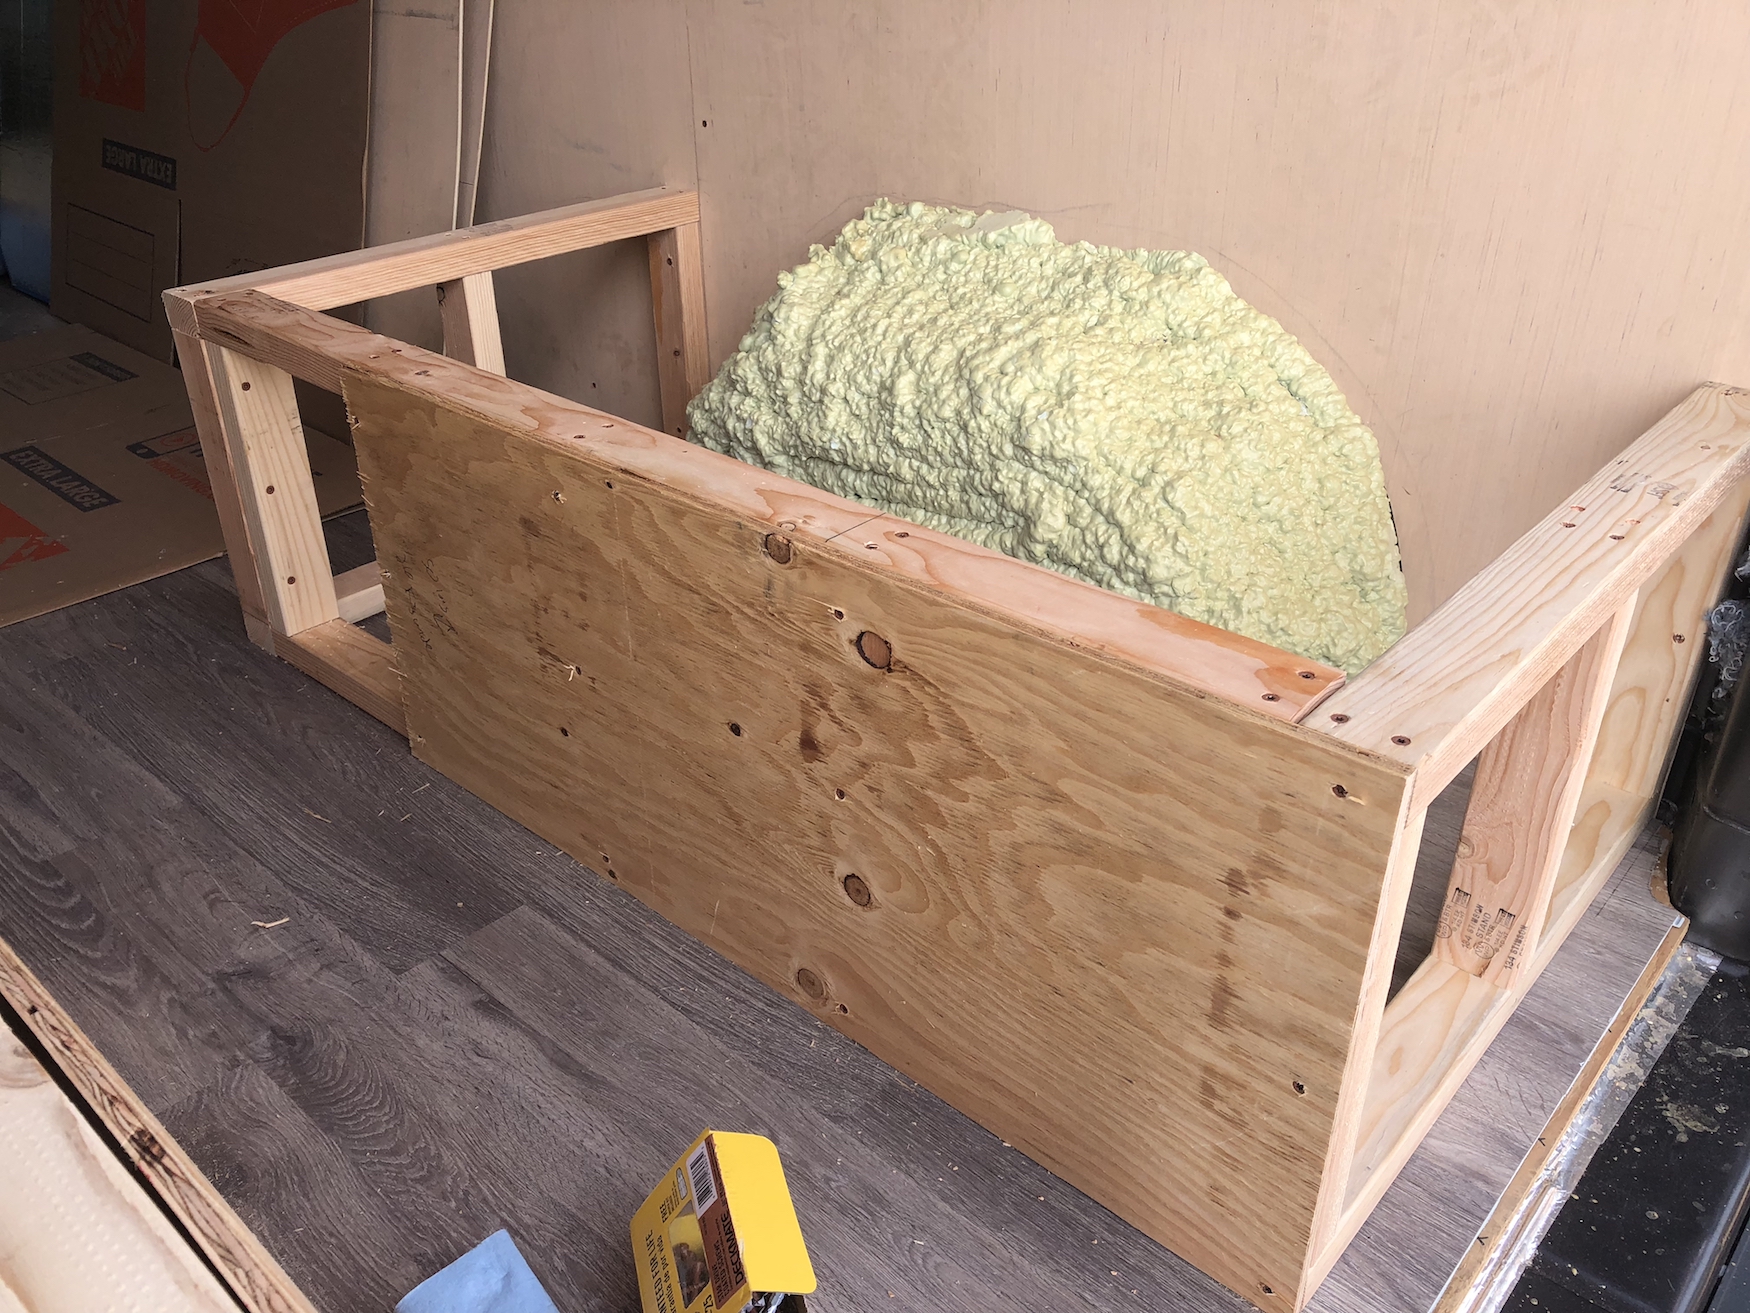
7a. Screw plywood onto the frames.
8. We decided to grind/sand the edges of the frames and paneling so we didn’t have incredibly sharp edges.
9. Optionally cover the plywood on the frames with 1/8″ paneling. We chose to do this so it would look better after painting.
9a. Cut the paneling to size
9b. Glue and nail the paneling in place. We used Liquid Nails.

10. After we have our entire base frame created, secured and paneled, we need to create the bench seat pieces.

10a. Cut the boards for the back of the seat/hinge area.
10b. Mount the hinge onto the rear board and front seats.
11. Install the stoppers for our seat backs in the upright position.
11a. Pilot holes
11b. Drill the stopper holes. It was helpful to put a piece of tape on the bit so we didn’t go too far.
11c. Now we can put our stoppers in place.
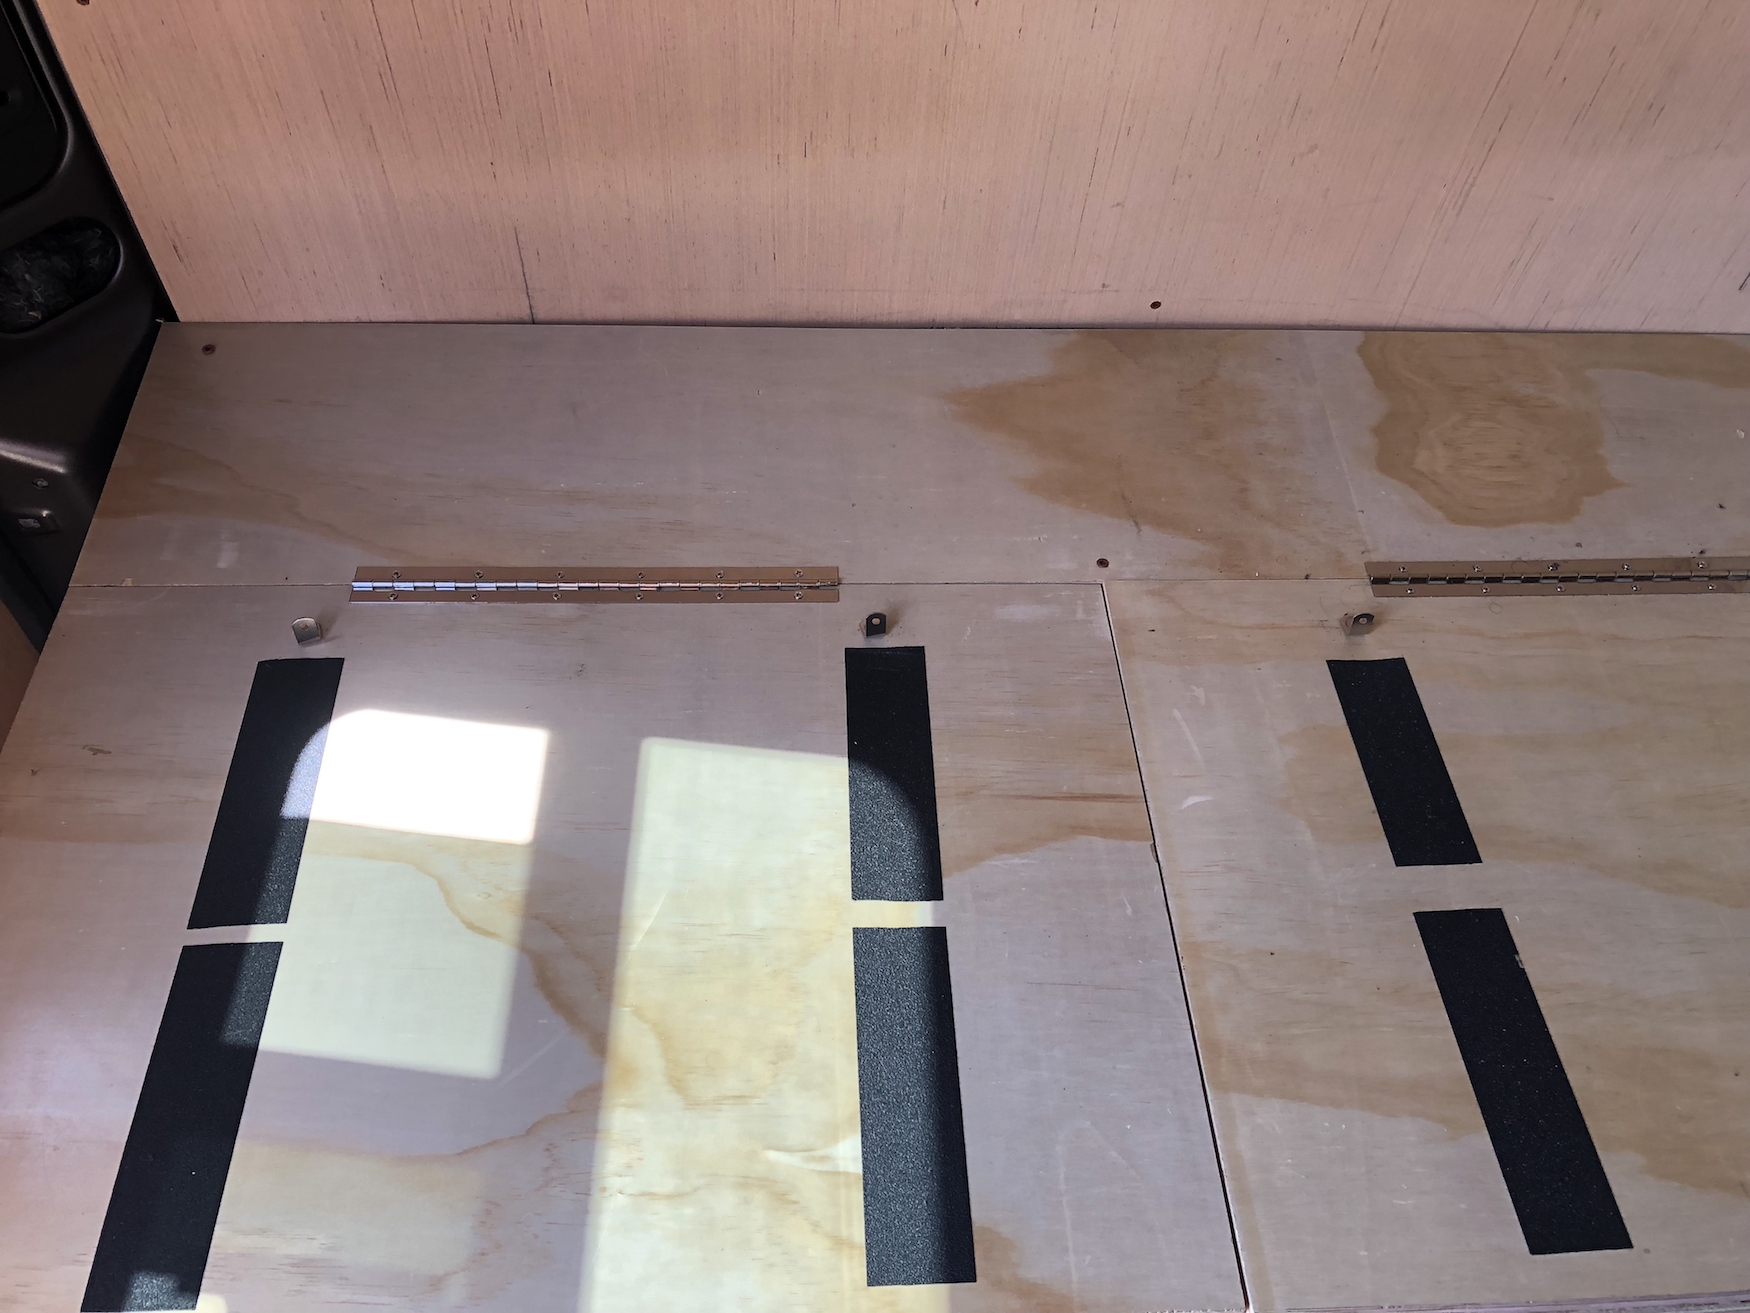
11d. I decided to put grip tape on the seats initially to help with the cushions sliding. I am hoping to find a better solution later on, but for now this was helpful.
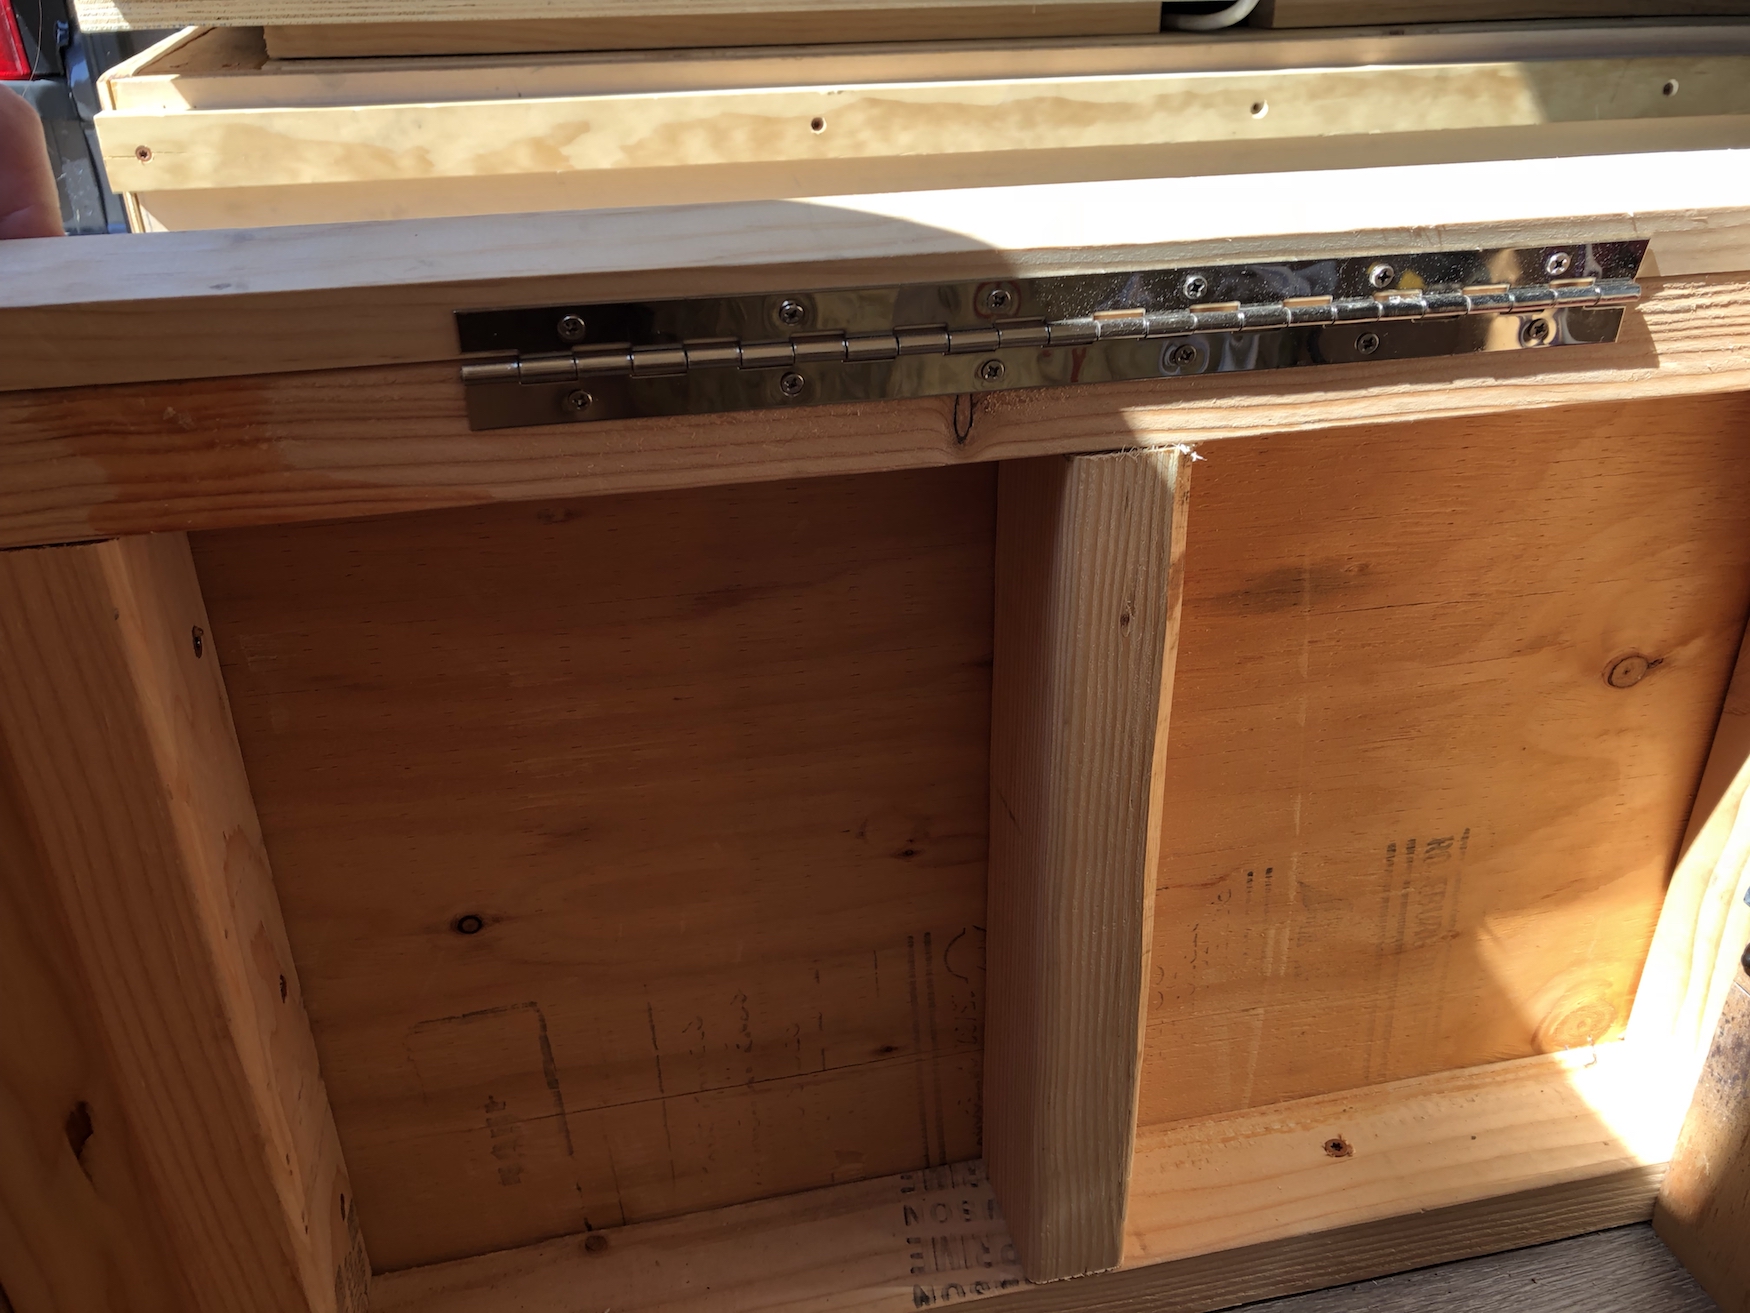
12. To place the boards between the frames and keep them in bed form, I had to cut and secure a long strip of poplar board. This can be seen in the hinge detail photo. Utilize the same type of wood for your hinge seat supports.
13. Cut and secure the hinge seat support onto the bed frame.
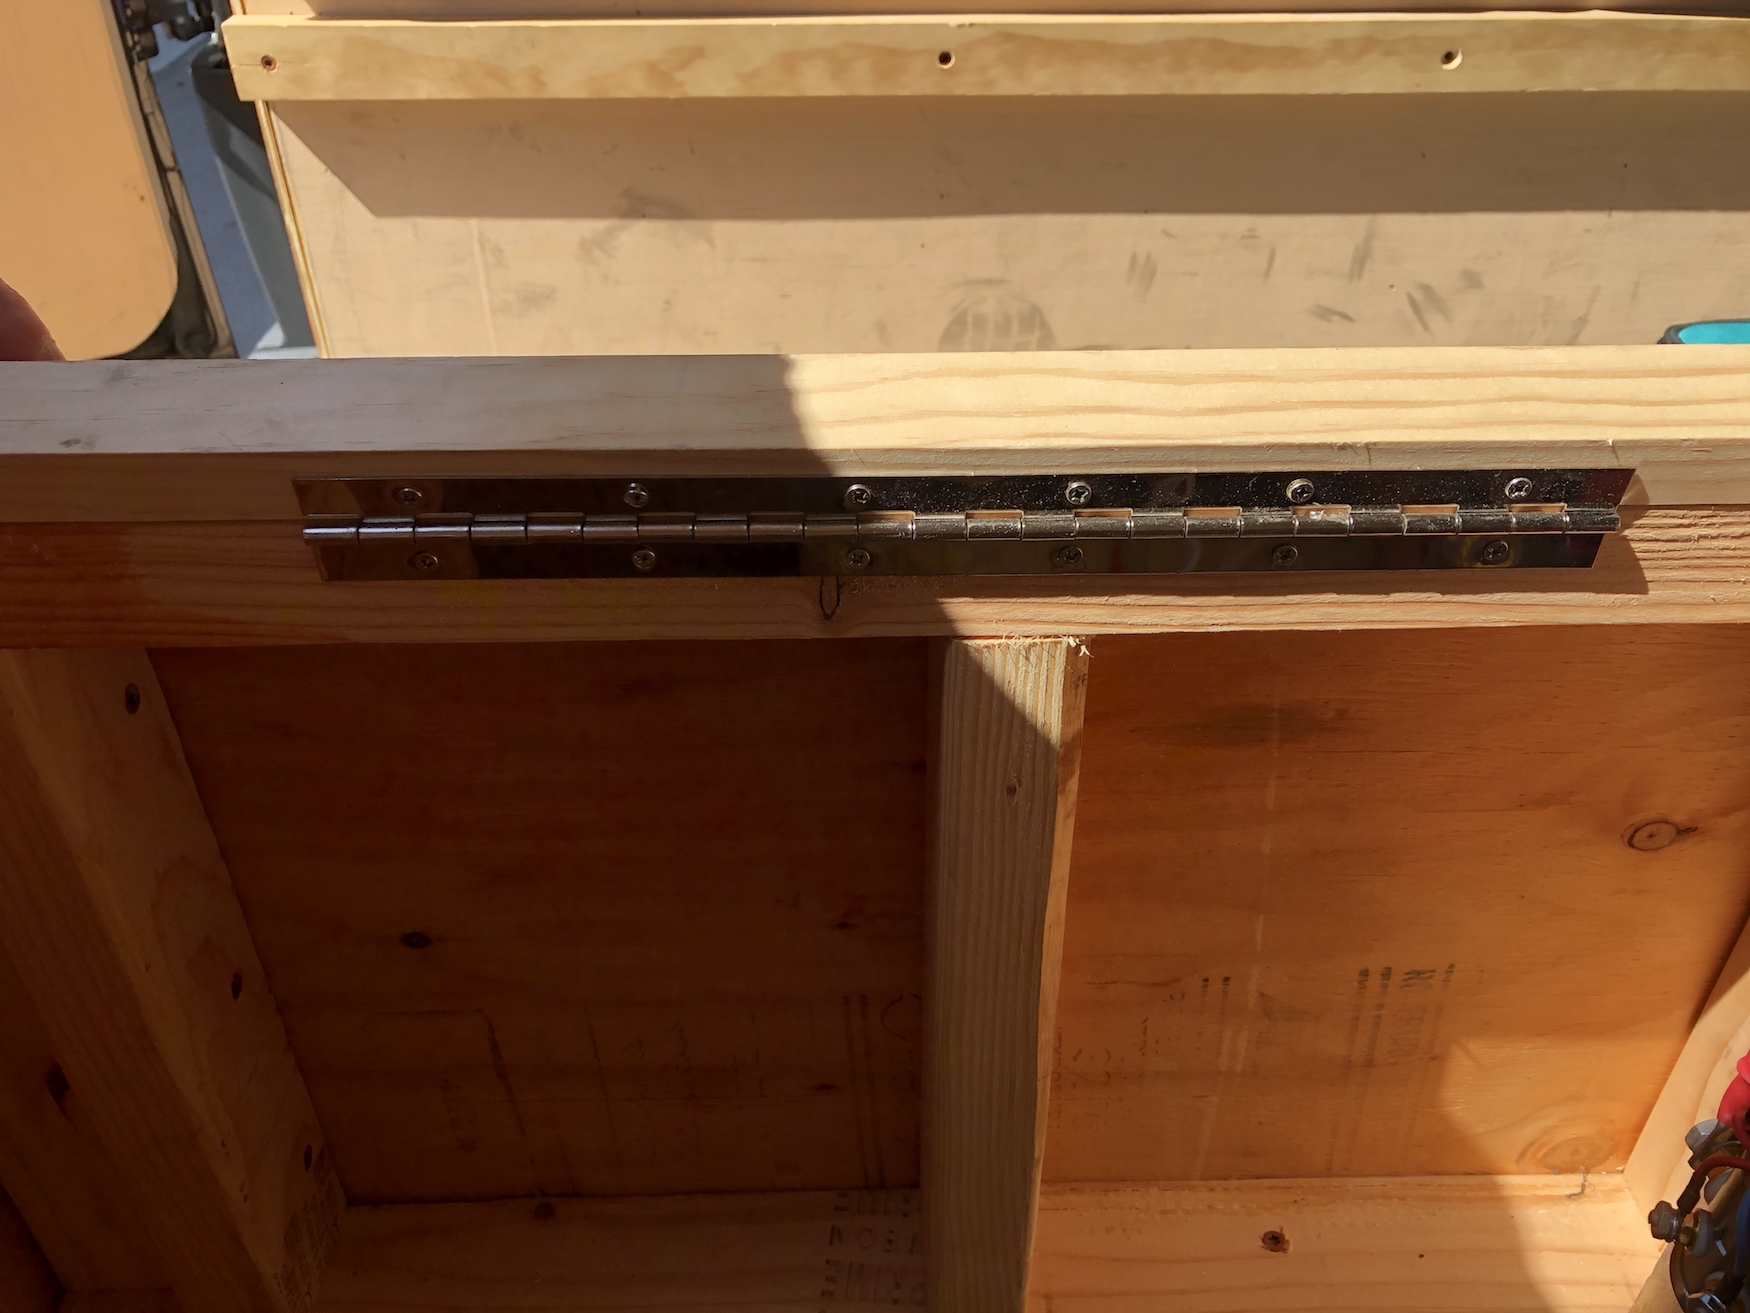
We’ve got the hinges in place! Let’s see it in action below.
Time to enjoy!
